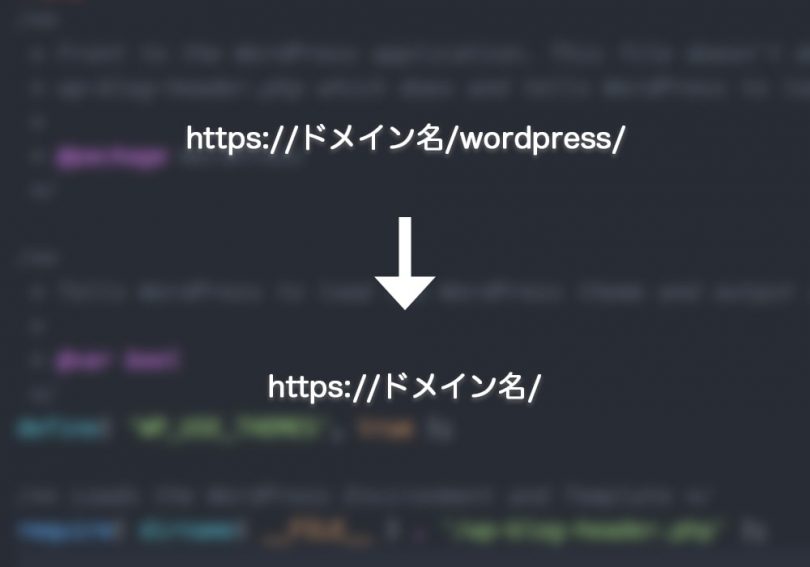
「http(s)://ドメイン名/wordpress/」のように、wordpressの専用ディレクトリにwordpressをインストールしつつ、表示は「http(s)://ドメイン名/」にするには、以下の作業が必要になります。
- サイトアドレスの設定
- index.phpと.htaccessを書き換える
wordpressの管理画面にてサイトアドレスの設定を行うこと、wordpressディレクトリ内にあるindex.phpと.htaccessを編集すること、そしてそれらのファイルをルートディレクトリにアップすることで、サブディレクトリにwordpressをインストールしても、ドメインのURLでwordpressのトップページを表示することができます。
サイトアドレスの設定
まず、wordpressの管理画面にログインし、「設定」→「一般」にある「サイトアドレス (URL)」からwordpress/を削除します。
以下のようになっていればOK。
WordPress アドレス (URL) → http(s)://ドメイン名/wordpress/
サイトアドレス (URL) → http(s)://ドメイン名/
サイトアドレス (URL) → http(s)://ドメイン名/
index.phpと.htaccessを書き換える
wordpressディレクトリのindex.php、.htaccessをダウンロード。
index.phpの以下の部分に「/wordpress」を追記します。
index.php
/** Loads the WordPress Environment and Template */
require( dirname( __FILE__ ) . ‘/wordpress/wp-blog-header.php’ );
/** Loads the WordPress Environment and Template */
require( dirname( __FILE__ ) . ‘/wordpress/wp-blog-header.php’ );
.htaccessの「RewriteRule」部分の「/wordpress」を削除します。
.htaccess
# BEGIN WordPress
RewriteEngine On
RewriteBase /
RewriteRule ^index\.php$ – [L] RewriteCond %{REQUEST_FILENAME} !-f
RewriteCond %{REQUEST_FILENAME} !-d
RewriteRule . /index.php [L]
# END WordPress
# BEGIN WordPress
RewriteEngine On
RewriteBase /
RewriteRule ^index\.php$ – [L] RewriteCond %{REQUEST_FILENAME} !-f
RewriteCond %{REQUEST_FILENAME} !-d
RewriteRule . /index.php [L]
# END WordPress
変更前:RewriteRule . /wordpress/index.php [L]
編集した上記2つのファイルをルートディレクトリにアップします。(ダウンロードしたwordpressディレクトリではないことに注意)
まとめ
①サイトアドレスの設定
②wordpressディレクトリのindex.php、.htaccessをダウンロード
③ダウンロードしたファイルを書き換えてルートディレクトリにアップ

Leave a Comment